A clean setup is the fastest way to safer shifts, better samples, and fewer surprises. This guide shows your crew how to stage a geotechnical drill rig, verify controls, arrange tooling, and run checks so geotechnical drilling rigs hit target depth with defensible data, on urban pads or desert sites.
Why it matters in the UAE: Dubai Municipality recorded a 20% rise in building permit activity in H1 2025, a workload that rewards disciplined setups and documented field practice.
Step 1 — Start with Decisions, Then Write the Method Statement
List the design decisions the investigation must enable (foundation type/depth, dewatering, improvement). Tie each decision to a test. This keeps the geotechnical drill rig setup focused: holes, depths, and drilling rig tools are sized to purpose, not habit. Share the one-page intent with the designer and HSE before mobilization.
Step 2 — Survey, Services, and Pad Planning
Utilities & permits: Confirm buried-services clearances, traffic plans, and work permits.
Pad layout: Paint the rotation envelope and cone the rod-handling corridor.
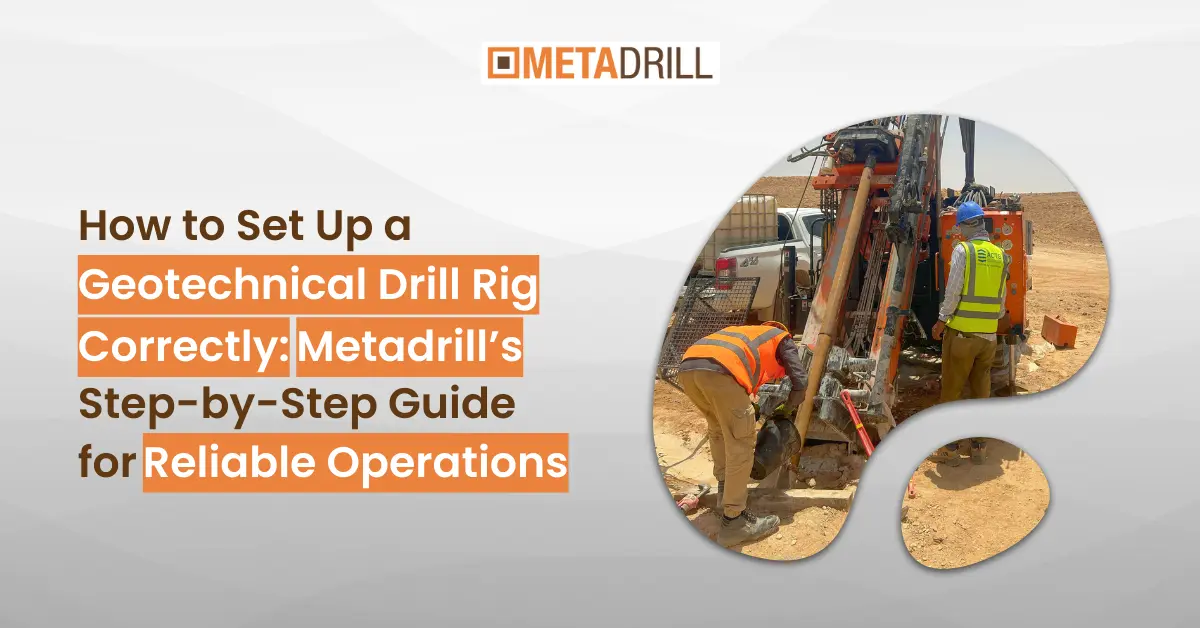
Sightlines: Position mirrors or cameras on the geotechnical drilling rig to watch returns and the handler.
Housekeeping: Route hoses/cables, stage spill kits, and keep bins within reach—small frictions become safety risks.
Step 3 — Instrument and Prove the Machine
Before the first spin, make the drill rig prove it’s safe:
Guards & interlocks: Closed and functional; E-stops tested at panel and offsider stations.
Sensors & alarms: Verify RPM, torque, pressure, temperature—trendable and time-synced.
Cooling & cabinets: Back-flush the cooling stack; gaskets seated; dust caps on open ports.
These checks keep drilling rig equipment within spec when heat and dust climb.
Step 4 — Stage Tooling to the Ground Model
Build a shelf that fits the geology, not a brochure:
Bits/crowns matched to formations (clay, sand, cemented bands, soft/hard rock).
Barrels, liners, shoes test-fitted; spares at arm’s reach.
Rods/subs inspected for straightness and threads; apply compound correctly.
Fluids & LCM measured and labelled; mix out of wind to avoid contamination.
When drilling rig tools and equipment are ready where operators stand, crews avoid unsafe “lean-ins” and rushed choices.
Step 5 — Post Guardrails At the Panel
Agree the parameter window before running:
Rotation (RPM) within the crown’s band; don’t chase stalls with speed.
Torque / weight-on-bit sufficient to cut without overloading.
Feed & extraction steady to protect liners and preserve sample integrity.
Print the window and tape it to the geotechnical drilling rig panel; visible rules make geotechnical drilling rigs predictable.
Step 6 — Run Discipline: Rotation, Feed, Returns
Rotation: Start in-band; escalate slowly; never “free-spin” near hands.
Feed: Maintain contact, avoid chatter; adjust when returns change.
Returns: Watch density/color; adapt flushing before recovery dips.
This is where a well-set geotechnical drill rig earns clean boxes and fewer rod binds.
Step 7 — Sampling That Stands Up in Review
Label core boxes before the run; record recovery, RQD, refusals, and groundwater at the rig.
Photograph boxes with IDs visible; keep the chain-of-custody intact to the lab.
Retire damaged drilling rig tools immediately; polished jaws slip and overheat rods.
Do this every shift, and your geotechnical drilling rig delivers defensible data the first time.
Step 8 — Troubleshoot Quickly, Safely, and in Sequence
If penetration stalls: step down RPM, add weight carefully, or change crown; check fluid density/viscosity.
If vibration spikes: reduce RPM, refine feed, inspect crown wear, and confirm rod straightness.
If recovery drops: shorten runs; verify shoe/liner pairing; clean the barrel; recut the face before resuming.
These fixes protect drilling rig equipment and keep the drill rig inside its parameter window.
Step 9 — Close Out That Sets Tomorrow Up to Win
Wash and inspect drilling rig tools and equipment; retire rounded crowns early.
Spin a dummy joint to feel for thread damage; re-dope and cap rods.
Back up logs/photos; list issues and planned fixes in the morning brief.
A tidy close-out turns a good day into a reliable week.
UAE Field Context You Can’t Ignore
The National Centre of Meteorology confirmed the country’s heaviest 24-hour rainfall on record on 16 April 2024—254 mm at Khatm Al Shakla—events that change groundwater behavior and access conditions. Build weather contingencies into the plan and watch levels closely during and after storms.
Quick Pocket Checklist
Method statement aligned to decisions; permits and utilities clear ✔
Geotechnical drill rig guards/interlocks/E-stops tested ✔
Parameter guardrails posted; sensors trend clean ✔
Drilling rig tools staged; spare crowns/liners within reach ✔
Exclusion zones painted; single radio channel with repeat-back ✔
Sample labels ready; photo device charged; chain-of-custody forms ✔
You can also check: Geotechnical Tooling Checklist for Foundation Projects Guide
Concluding Remarks
Setups win shifts. When crews treat a geotechnical drill rig as a system—clear decisions, safe pad layout, proven controls, staged drilling rig tools, and posted guardrails, geotechnical drilling rigs stay inside spec and programs finish on time. Keep drilling rig equipment inspection-friendly, train crisp handovers, and document what happens downhole. Do that, and your geotechnical drilling rig becomes the most reliable drill rig on site, exactly what clients expect from MetaDrill drilling rigs across the region, and exactly why teams trust MetaDrill drilling rigs for repeatable, audit-ready results.
Question to the public:
Stage your geotechnical drill rig right for UAE sites: safer shifts, cleaner samples, fewer surprises and audit-ready data with disciplined setup each day.